
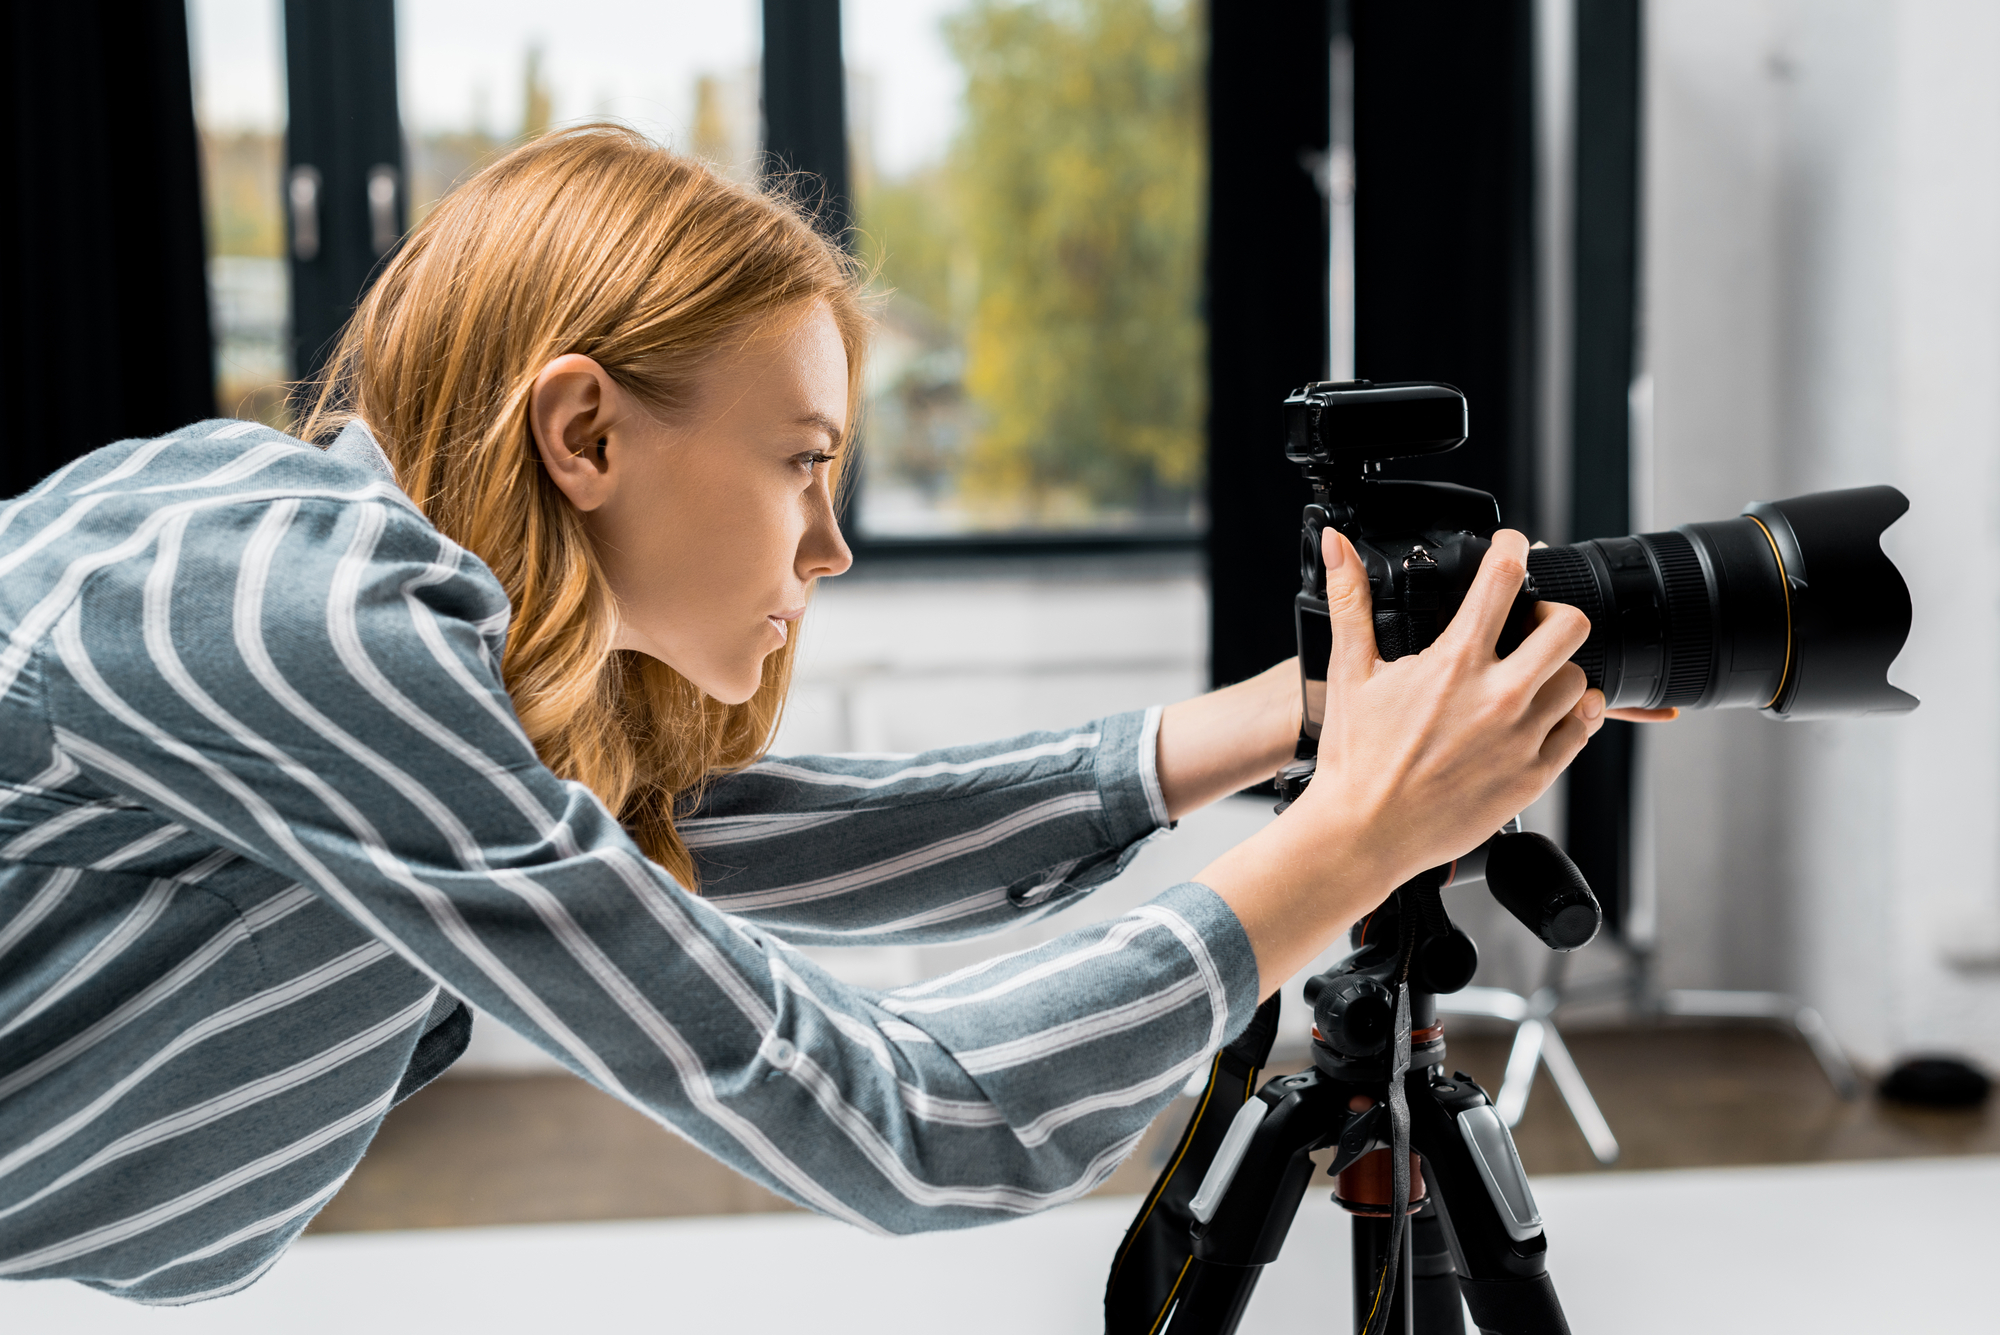
The difference between a decent video and a quality or excellent Lighting for YouTube Videos depends on various factors working together; however, one of them is always lighting. Well-lit lighting will immediately enhance any video, so it is worth thinking carefully and trying to do your best with what you have. Even if there is no budget to light Youtube videos, there are options to get the most out of your resources.
No Lights
It’s probably not the best idea to create Lighting for YouTube Videos without natural lighting; however, the sun is the best option when the sun is all you have to work with. Place yourself facing the brightest window at home (or office or wherever you’re creating videos) and set your camera onto the window or on the tripod between the window and yours. It’s not flawless, but it will accomplish the task.
One Light
Space or money constraints may result in using one light source to shoot your videos. In this situation, the use of using a softbox is likely to be your ideal choice.
The most common method of using a softbox is to place it on one end of your camera, approximately ten or two clocks or two o’clock from the subject and slightly raised. To ensure that the light is even and soft, use the most significant light or diffuser you can and make sure it is near the subject.
It may seem counterintuitive to think that a brighter source is softer; remember that the word “closer” means larger or more expansive. An enormous light source is less smoky because it permits light to penetrate your subject from every angle possible and makes it more even. Moving the source of light further away from the issue can result in less illumination.
When your subject is near the light source, you’ll notice a lot of light loss. This causes a background that is quite dark and dark when compared to your subject. If you wish to increase the amount of the backdrop to light, move the light away from the issue. Keep in mind that you’ll need to intensify the morning to get the same brightness for your subject if you choose to do this.
When it comes to the lighting configuration in the lighting setup for your YouTube video, it is possible to create that Rembrandt light effect by using just one morning. Instead of putting the light around the tenth or second o’clock position towards the subject, place it set closer to the third or ninth at three or nine. This adds more drama to your scene, with a darker feel on the shadows. For a moody look at your location, like the interrogation room or in a prison cell, illuminate your subject directly from the sky. This is also an excellent method for product photography. Could you test it out and discover what you think Lighting for YouTube Videos?
Two Lights
Before you do anything using two lights, you need to ensure that the lights are both adjusted to the same temperature. If one morning is 5500K, which is about the same temperature as daylight, while the other is 3000K, the temperature of tungsten lighting is different. Getting the correct white balance can be extremely difficult, and you could discover that your subject appears somewhat unnatural. The color you select will depend on your style; however, you should use the same settings!
If you are using two lights, you’ll likely be using an illuminating softbox as your primary light source, as you would in a single light setup. But, you’ll also include an additional, more delicate light to help lift shadows.
The ideal spot for your light fill is on the opposite end of the camera from the leading light but set to a lower level of intensity to reduce the shadows created on the light source. It’s essentially an all-point lighting system, however, without the backlight.
However, you can play around with the lighting. You could decide to place another light in front of your subject to create an elongated lighting effect. You could also use it to light the background if you’re looking for and want. Don’t be afraid to play around with your lighting – for instance, with various lighting mods for multiple effects.
Three-Point Lighting
A three-point lighting system is among the most popular methods utilized as the lighting in YouTube videos for filmmakers, photographers and photographers. It consists of the leading light that is placed at an angle of the 20-45 degree angle to the camera and a fill light which typically is situated at the same tip that the primary light source from the camera; however, on the opposite aspect, as well as a second light which is placed behind the subject and creates depth in the scene.
There are plenty of chances to experiment with three-point light, however. The leading light and the fill light aren’t required to be located at 30 degrees in front of the camera. It is possible to move them toward 90 degrees for an edgy look that can help to emphasize the textures. You can experiment with the backlight’s direction and intensity and see its effect on the overall feel of your scene.
Extras
Whatever the number of dedicated lighting fixtures you are working on, you can find a few additional lights you can employ to add more excitement to your lighting scenes.
There are many reasons to have diffusers to soften the lighting or reflectors to help bounce light towards darker spaces. Barn doors and honeycombs could assist in directing light in a more precise manner. This will allow you to protect areas where you’d prefer to be in the shade or the shadows but retain all the softness you can get.
Illuminating the background using domestic lights is a cost-effective and straightforward way to add changes to your location. For instance, you can use fairy lights that create beautiful bokeh, a table lamp with an edgy bulb, or an uncommon shade that produces shadows. When you add a light source that illuminates your video’s background, you can create various effects in your films. First, consider changing the background light’s color by applying a gel. Then, you can give the background whatever feel you like.
Gobos are stencils placed on top of your lighting to create shadows over your scene or background. You can project a specific image onto your backdrop should you wish to. Also, you can employ a gobo for something abstract or to create the illusion of street lights falling through blinds in windows, for instance. There is a myriad of options to play with your imagination. This applies to all of your lighting needs for YouTube videos. YouTube content, but not only for Gobos!