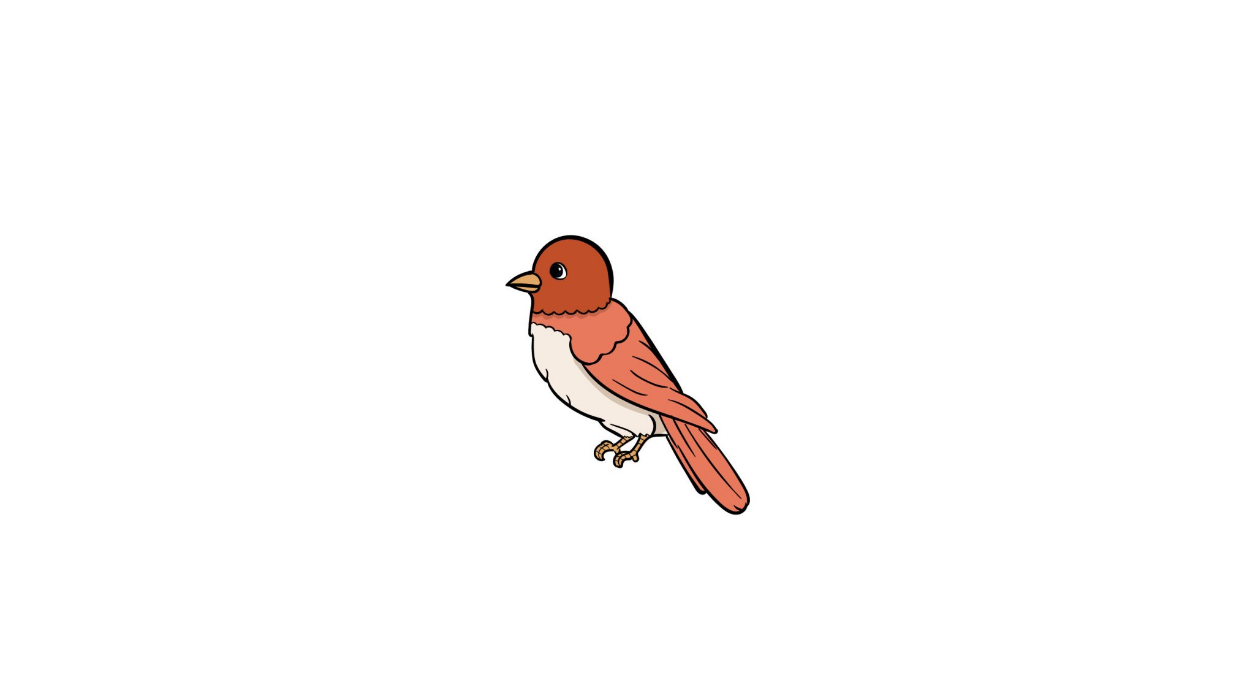
How to Draw A Bird. Birds are among the most diverse animals found in nature. From gigantic and mighty eagles and ostriches to tiny and delicate hummingbirds, there is an almost endless variety of birds to admire.
Also, check our cat coloring.
There are billions of bird lovers worldwide, and they love capturing their favorite feathered friends in photos, sculptures, paintings, and of course, drawings.
If you’re a bird fan who wants to learn how to draw a bird, you’re lucky with this guide!
We have created this easy step-by-step How To Draw A Bird tutorial in 8 easy steps to have you drawing beautiful birds in no time!
How to Draw A Bird
Step 1
For the first step of this bird drawing guide, you will first need a light pencil to draw a medium-sized circle.
Let’s use a pencil for this step, as it will help us keep the shape and perspective excellent.
If you’re having trouble drawing a perfect circle freehand, there are tools like a drawing compass that you can use to draw a perfect circle quickly.
Once you have your guide circle, use a darker-colored pen or pencil to draw a small triangular beak on the left side. Then, using the guide circle, carefully draw the top of the head, as you can see in the reference image.
Step 2
In this next step, we will draw the beginning of the bird’s body. You can use three slightly curved lines starting from the bottom of the beak to shape the breast for the bird’s breast.
The helpful reference image shows what this should look like for your bird drawing.
Once the chest is drawn, you can draw the bird’s back with another curved line.
Step 3
For step 3, let’s draw a nice tail for your bird’s drawing! The tail consists of a combination of connected straight and curved lines.
For this step, I recommend closely looking at the image to see how all the lines should look and connect.
Step 4
Your bird drawing is taking shape now, so add some legs and the rest of the beak!
Let’s start with the beak first. To finish it, draw a line in the middle and then close it with a curved line.
Now we will work on adding the legs. You can draw two lines close together to form one of the slim legs and then repeat for the other leg.
Finally, you can draw some curved toes and the backs of the feet with smaller lines.
Step 5
In step 5 of this bird drawing guide, we’ll add the eye and some feather details. For the eye, you can use small circles inside each other as they appear in the picture.
If that doesn’t work for you, you can use a black dot or a circle with a small dot inside.
You can now draw some feather details using a combination of smaller, wavy, and straight lines.
This is another step where I take a very close look at the reference image as a guide for your first attempt.
As long as you follow the instructions and take it slow, I know you’ll do fine at this stage of drawing your bird!
Step 6
At this point, you’re almost drawn to your bird! For step number 6, we will add some detail lines to the wings and tail.
You don’t have to follow the reference image precisely for this step; you can add these lines in whatever way looks good to you. These lines are meant to give a feathered look to those parts of the bird.
Step 7
You started this guide with one mission: learn how to draw a bird. With these next few steps, you’re about to complete that mission!
For this step, you will add more lines to the chest and tail, as seen in the picture. Finally, you can draw many small lines in the bird’s legs to create a striped look.
Step 8
When all the drawings are done, you’re almost done! There’s only one last step to add some pretty colors!
We have shown in this image one way you could do it, but for that, you should let your creativity run free and use your beautiful favorite colors!
You can also use some friendly artistic mediums like watercolors for a softer look or acrylics for a more vibrant look. We can’t wait to see what you choose for your beautiful bird design!
Your Bird Drawing is Finished!


