
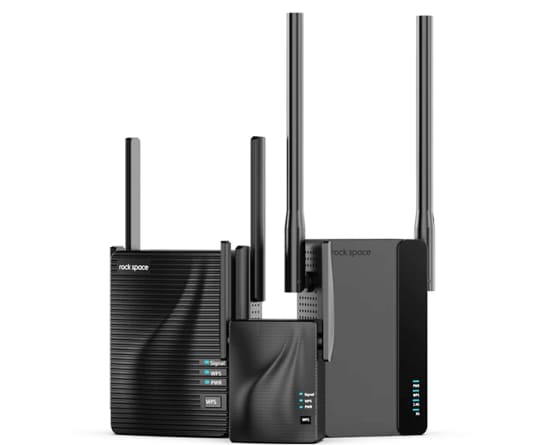
Although every range extender brought in by Rockspace is superb, still AC2100 has grabbed many eyeballs due to its stupendous features. That is why a lot of people prefer performing Rockspace AC2100 setup in their apartments. However, some of them are having a bitter experience with their WiFi devices. They state that their Rockspace AC2100 won’t connect to internet. In case you’re also facing the same issue, give a shot at the hacks jotted down here.
The reason being, if you do not address the issue now, you will be unable to access the http re rockspace local login portal. Therefore, let’s start the troubleshooting process with its first stage i.e. by discussing the potential causes behind the problem.
[Whys] Rockspace AC2100 Won’t Connect to Internet
The primary reason why your AC2100 range extender is denying connecting to the internet is that you’ve not connected it to the router properly. Perhaps, the Ethernet cable joining both devices is damaged. Therefore, have a look at the same and replace the cable if what we’ve imagined is true. You’re also required to make sure that the connection between your WiFi devices is non-shakable. On the off-chance, mending the Ethernet connection doesn’t bring you luck; walk through the points mentioned below to learn other potential causes behind the problem:
-
Improper Extender-Router Distance
Every WiFi device transmits electromagnetic signals to facilitate the user with a high-speed internet connection in every nook and cranny of the house. Since, a Rockspace AC2100 extender and the main router both are networking devices, they emit EM signals and hence communicate via them. But, this communication won’t be proper if the distance between your devices is not apt.
-
Too Much WiFi Interference
Your Rockspace AC2100 won’t connect to internet if it is surrounded by devices that emit EM waves. As mentioned earlier that the extender utilizes EM waves to operate, and there are chances that its signals will be messed with those emitted by other devices. Apart from this physical impedances and reflexive surfaces also impacts the extender’s ability to connect to the internet.
[Fixes] Rockspace AC2100 Won’t Connect to Internet
In the previous section, we stated the reasons causing the internet problems with your range extender. Now, it is time to put some light on the hacks that will help you get out of this mess. You need to follow them religiously. Otherwise, the issue will become adamant and your extender will not be able to connect to the internet.
-
Mend the Router-Extender Distance
If your WiFi devices are placed too far, then we suggest you bring them to the same room. This way, they will be able to communicate effectively. However, it never means that you are allowed to place your devices neck to neck. Know that doing so might result in a clash of their WiFi signals. And chances are that your device’s ability to extend the signals gets impacted.
-
Relocate the Extender
The second hack that you can follow to fix the issue you’re currently facing is the relocation of the extender. You are suggested to keep it in a place where it experiences minimum signal interference. To be specific, keep the extender away from televisions, microwave ovens, Bluetooth speakers, baby monitors, glasses, mirrors, fish tanks, etc. If possible try to give it some space in the central room of your house. But, the chosen one must be properly ventilated.
Wrapping Up
Now, it is time to wrap up the post aimed to help you address the Rockspace AC2100 not connecting to internet issue. We hope that you’ve not only learned the reasons causing it but also the hacks that will help you do away with it in a hassle-free manner. But, what if the issue becomes adamant to leave your side? In that scenario, you are suggested to reset the extender. Since you cannot perform re.rockspace.local reset in the absence of an internet connection; opt for the hard reset approach.
Simply push the Reset button on your AC2100 range extender. Within a few moments, it will start operating on the factory-set settings. Once that happens, set it up again via the default URL or the WPS method.