
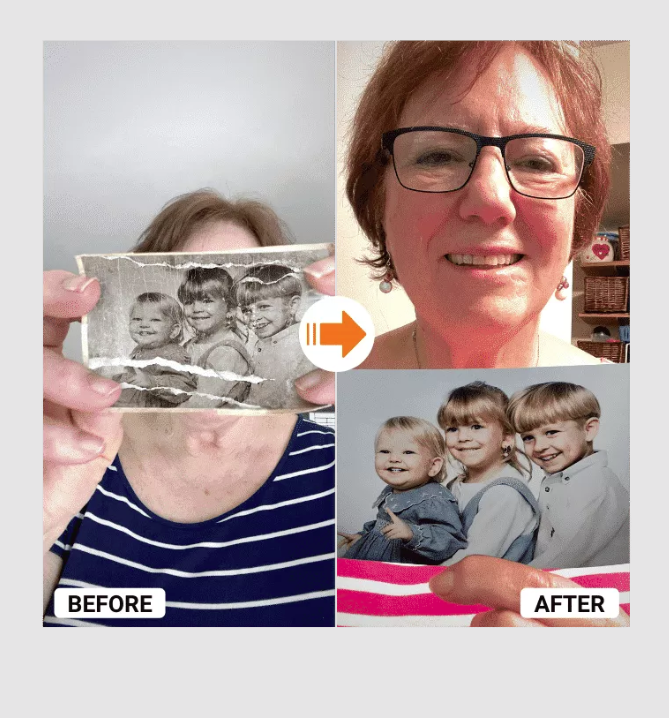
Do you have an old, damaged photograph that you wish you could restore to its original beauty? If so, then this article is for you! In it, we will discuss how to bring back the memories of your treasured photos by restoring them and bringing them back to life. From simple tips on cleaning up dust and scratches to more complicated methods of retouching color and contrast, we’ll cover a variety of techniques for restoring old pictures. So if you’re ready to revive the memories in your faded photographs, let’s get started!
What is restoring old photographs and Why do People use them?
Restoring old photographs is the process of restoring the original beauty and vibrancy of a photograph that has been damaged over time. This can be done in many ways, from repairing scratches and fading to color correction and retouching images.
Restoring an old photograph can be a very rewarding experience as it allows you to preserve the memories contained within an image for many years to come. People use this technique for various reasons: to revive treasured family photos, to commemorate key moments in history, or simply as a creative project.
There are a variety of tools available for restoring old photographs, such as Adobe Photoshop, GIMP, or Corel PaintShop Pro, allowing users to experiment with different techniques until they find the best solution for their needs. Additionally, there are online tutorials that provide detailed instructions on how to restore an image without prior knowledge of complex photo-editing techniques.
How to Cleaning up Dust and scratches From Old Photographs ?
Cleaning up dust and scratches from old, damaged photographs is a great way to bring back the original beauty of your treasured memories. To begin, you’ll want to make sure you have all the materials you need: cotton swabs, a soft cloth, and a cleaning solution (any all-purpose cleaner is suitable).
Start by rolling the soft cloth into a ball and lightly dabbing it on the photograph’s surface. This will help remove any loose dust and dirt particles that can accumulate over time. For more stubborn debris, take one of your cotton swabs and dip it in the cleaning solution.
Gently rub the swab over any areas with dust or scratches until they are gone. Finally, use a fresh, clean cloth to wipe away any remaining residue from your photograph before carefully drying it off with another dry cloth. With this simple process, you can bring back the clarity and beauty of your old photographs with ease!
Step-by-Step Old Photographs Restoration Process
- Step One: Scanning the Photo – Before you can begin restoring any old pictures, it’s important to first scan them into your computer. This will allow you to make a digital copy of the photo that can be edited and adjusted for better color and contrast. You can either use a flatbed scanner or an external scanning device to do this.
- Step Two: Color Adjustment – Once you’ve scanned in your photo, the next step is to adjust its color balance and brightness levels. You can use editing software like Adobe Photoshop or Gimp to help with this process. By adjusting sliders for colors like red, green, and blue, as well as brightness levels, you can bring out more detail in your picture and make it look closer to its original form.
- Step Three: Retouching – After adjusting the colors and brightness levels of your photograph, you’ll need to retouch any dust or scratches that may be present on it. This is often done using a specialized retouch tool such as MemoryCherish which is specifically designed for restoring damaged photos by removing surface defects such as dust spots or scratches gently from the image without damaging other areas of the picture.
- Step Four: Finishing Touches – The last step in restoring an old photograph is giving it some finishing touches such as cropping, adding texture effects, or applying any final adjustments that may be necessary before saving the file for printing or sharing online with others. With these simple steps, your faded photos will be transformed into beautiful memories once again!
Enhancing clarity with digital methods
Enhancing clarity with digital methods is an essential part of restoring old photographs. Digital methods can be used to sharpen edges, improve focus, and bring out the details that have been lost over time.
To enhance clarity digitally, you can use sharpening techniques like Unsharp Mask, High Pass filter, and Smart Sharpen to increase the overall sharpness of your image. You can also adjust contrast levels with Curves or Level adjustment layers to make your photo stand out more.
Finally, you can use noise reduction tools like Reduce Noise or DeNoise AI to reduce grain and other artifacts. With these digital methods, you can restore your old photographs to look as crisp and clear as they did when they were originally taken. With MemoryCherish’s easy-to-use digital restoration tools, anyone can easily bring back the memories of their treasured moments!
Tips for preserving restored photos
- Store photos in a dry, cool environment: Storing photos in a dry environment is key to preserving them for years to come. Avoid humid or overly warm places, as these can both accelerate the deterioration of the image.
- Use acid-free photo albums or scrapbooking supplies: Using acid-free supplies can help maintain the color and quality of your photos over time. Look for products labeled “acid-free” when purchasing albums or other paper products made for storing photographs.
- Consider digital storage options: Digital preservation is an increasingly popular option for preserving and restoring old photos. Many software programs are available that allow you to store and organize digital images safely while keeping them secure from physical damage or degradation due to environmental factors.
- Try MemoryCherish’s photo restoration service: MemoryCherish offers an easy way to restore old pictures using their cloud restoration service – no need to worry about complicated software programs or purchasing new equipment! They provide high-quality results that will have you smiling at the memories of your cherished photos in no time at all!
Final Thoughts
Restoring old photos to their former beauty is a rewarding and meaningful experience. Not only does it give us a way to preserve our family’s history, but it also allows us to breathe new life into our memories.
When restoring old photos, it’s important to take your time and choose the right method for each picture. Some techniques like cleaning up dust and scratches can be done with simple materials like cotton swabs, while more complicated methods such as retouching color or contrast may require more professional tools and expertise. Additionally, digital methods like enhancing clarity can help bring out details that have been lost over time.
Finally, when reviving the memories in your treasured photographs, it’s important to take steps to preserve them. Consider using archival-grade paper or photo albums to store your restored images so they don’t get damaged again over time. You could even create digital copies and backup plans so that you always have access to them no matter what happens.