DIY Hair At Home Introduction
DIY Hair at home is very easy. Are you tired of your current hair color and longing for a change? Why not try DIY Hair at home? Diy hair can be a fun and cost-effective way to transform your look without having to visit a salon. In this comprehensive guide, we will walk you through the step-by-step process of dyeing your hair at home, ensuring that you achieve stunning results. From choosing the right dye to applying it like a pro, we’ve got you covered. So, grab your favorite hair dye, and let’s get started!
DIY Hair at Home
DIY Hair at home can be a thrilling adventure, but it’s important to approach it with care and knowledge. Follow these simple steps for a successful hair dyeing experience:
- Prepare Your Workspace: Before diving into the dyeing process, it’s crucial to create a suitable workspace. Lay down old towels or newspapers to protect surfaces from any potential spills. Gather all the necessary tools, including gloves, a brush or applicator, and a timer.
- Choose the Right Hair Dye: Selecting the perfect hair dye is vital for achieving the desired results. Consider your skin tone, eye color, and personal style when deciding on the shade. Consult online resources or visit the manufacturer’s website for color charts and recommendations.
- Perform a Strand Test: Before applying the hair dye to your entire head, it’s essential to perform a strand test. Take a small section of hair from an inconspicuous area and apply the dye according to the instructions. This will help you determine the processing time and ensure that you achieve the desired color.
How To Protect Skin
- Protect Your Skin: Apply a thin layer of petroleum jelly or a barrier cream around your hairline, ears, and neck to prevent the dye from staining your skin. This simple step will make the cleanup process much easier.
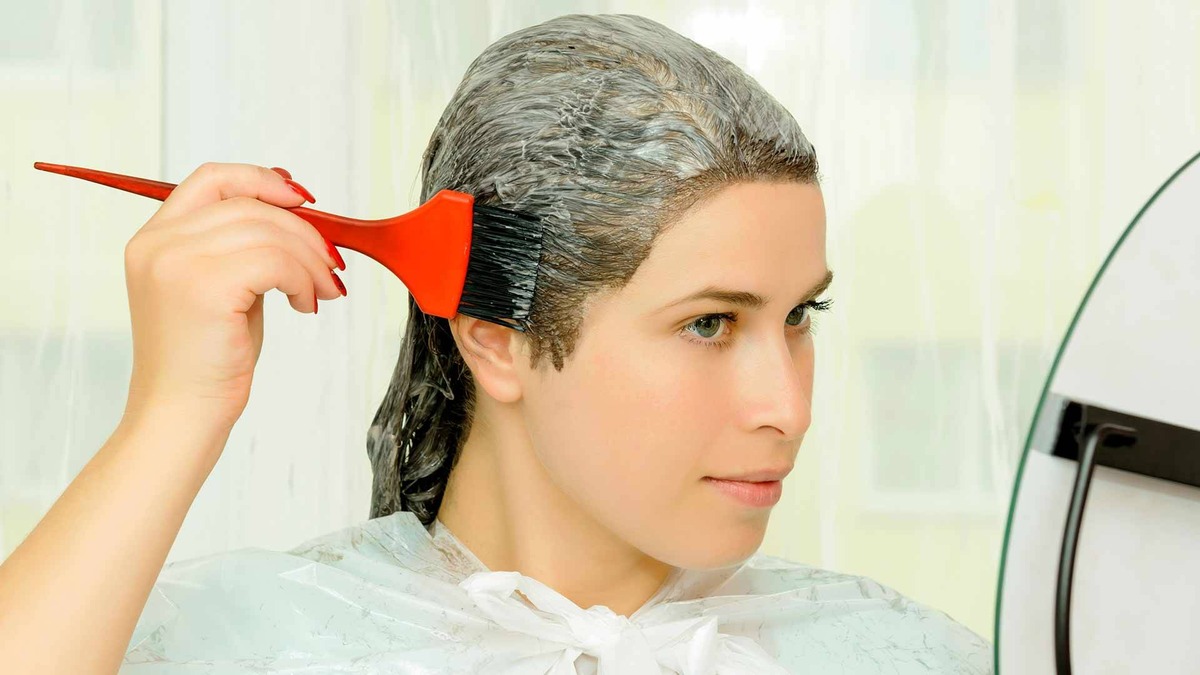
- Mix the Dye: Follow the instructions provided with your hair dye to mix it properly. Ensure that you are in a well-ventilated area while doing this. Use a non-metallic bowl and a dye brush or applicator for an even application.
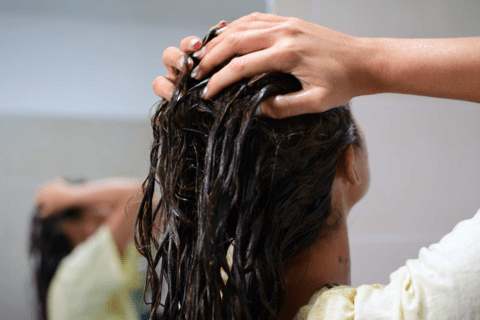
- Divide and Conquer: Divide your hair into sections using hair clips or hair ties. This will help you apply the dye evenly and avoid missing any spots. Start with the bottom sections and work your way up, ensuring that each section is thoroughly saturated with the dye.
- Apply the Dye: Begin applying the dye from the roots and work your way toward the ends. Use the brush or applicator to spread the dye evenly, making sure to saturate each strand. Massage the dye into your hair for better penetration.
- Time It Right: Follow the recommended processing time mentioned on the hair dye packaging. Set a timer and wait patiently for the color to develop. Avoid leaving the dye on for too long, as this may result in damage to your hair or an unwanted shade.
FAQs About DIY Hair at Home
-
Can I Diy hair at home if it’s previously dyed?
Absolutely! Just keep in mind that if you’re lightening your hair or switching to a significantly different color, it may require more effort and multiple dyeing sessions. Be sure to check the dye’s instructions for specific guidelines on dyeing over previously colored hair.
-
How often should I touch up my roots?
The frequency of root touch-ups depends on the rate of your hair growth and the color contrast between your natural hair and the dye. On average, every four to six weeks is a good timeline to keep your hair color looking fresh and vibrant.
-
What should I do if I accidentally dye my skin?
If you accidentally stain your skin with hair dye, don’t panic. Use a gentle cleanser or makeup remover to clean the stained area. You can also try using a mixture of baking soda and water for stubborn stains. Additionally, applying a bit of lemon juice or hydrogen peroxide can help lighten the stain.
-
Can I dye my hair at home if I have allergies?
If you have a known allergy or sensitivity to hair dye, it’s important to exercise caution. Look for hair dyes labeled as hypoallergenic or specifically formulated for sensitive skin. Perform a patch test before applying the dye to ensure that you don’t have any adverse reactions.
-
Is it necessary to use a developer with Diy hair?
Not all hair dyes require a developer. Dye is designe to apply directly to the hair without the need for a separate developer. Always check the instructions provide with the specific hair dye you choose to determine whether a developer is require.
-
What should I do if I’m unhappy with the results?
You are not satisfy with your DIY hair-dye adventure, don’t worry! There are ways to fix or adjust the color. You can try using a color-correcting product or visit a professional colorist who can help you achieve the desired result.
Conclusion
Diy your hair at home can thrilling and empowering experience. By following the step-by-step instructions provide in this guide, you’ll be able to achieve a fabulous hair transformation without leaving the comfort of your own home. Remember to choose the right hair dye, perform a strand test, and protect your skin during the process. With proper preparation and care, you’ll be rocking a stunning new hair color in no time. So, grab your favorite dye and embark on this exciting journey to reinvent your look!