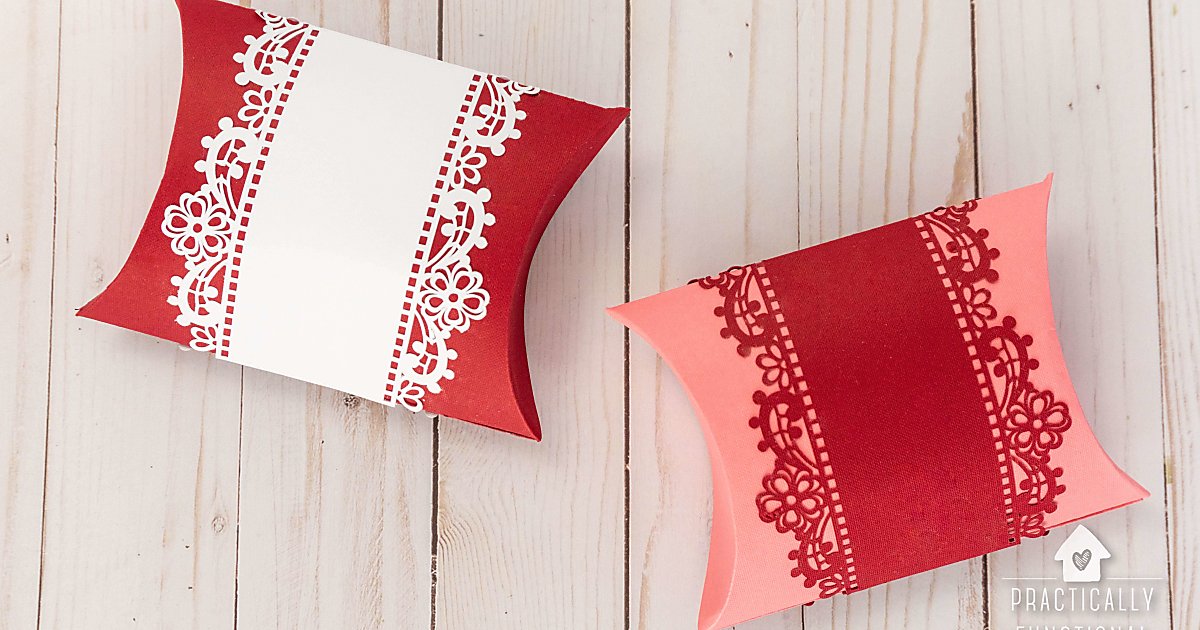
Pillow boxes are luxury packaging boxes. They are made of rigid, kraft, corrugated, and cardboard material, which makes them strong and sturdy for packing all types of items. Moreover, these boxes are easy to design with visuals and pictorial graphics for an enticing appearance. Furthermore, the elegant and durable Pillow Boxes Template packaging solution is used for various purposes, including gift boxes, storage boxes, and product packaging. Hence, despite multiple benefits, making a pillow box is easy and simple.
We will answer your question, “How to make a
Pillow Box Template from scratch? So, let’s get started with this step-by-step guide!
Materials Needed For Making Attractive Pillow Packaging Boxes
You need to gather the required material to make these boxes. Moreover, you can make a perfect box using these materials. Furthermore, cardboard/chipboard, a craft knife or a cutter, a ruler, a pencil bone folder, glue, decorative paper, and embellishments are mandatory in order to make an outstanding box. Hence, the combination of these materials makes a perfect pillow box packaging that appeals to customers.
Step 1: Take The Paper, Measure and Mark It
Firstly, you have to mark and measure the material. The measurement you take plays an essential role in making an outstanding box. Without proper measurement, you cannot create a box that will give you a benefit. All you have to do is to get a marker, ruler, and measuring tape to start making these boxes. Here is the guideline for how to do it so well:
Step 2: Mark And Cut The Material
After taking all the proper measurements and marking them perfectly. How do you create an individual cardboard panel? Take a cutter or a knife and cut what you’ve marked the lines on the cardboard. While cutting the lines make sure to focus on that marked lines. These are the steps for cutting the measurements:
Step 3. Printing Pillow Packaging
Now it’s time for the printing process on pillow box templates after finalizing the paper order. To make these boxes appealing, you can imprint them with unique designs, visualization, graphics, and descriptions on them. It is very easy to adhere a design paper around rigid or cardboard paper. Furthermore, different printing methods can be used if the paper is smooth.
Step 4: Scoring and Folding Of The Material
To give it a shape, you have to score and fold it. You need a scoring tool to mark small indentations along the lines on each piece of paper. By following this method you can create a neat folding without any extra effort. After that, fold the paper very carefully along with the scolded lines to make an accurate crease.
Step 5: Assemble Them
It is a very important step to assemble your paper carefully. To join all sides and angles of the material, you will require glue that sticks to the paper perfectly. To create a corner, try to apply glue on the sides of the panel and then joined them with adjacent side panels.
Now you have to assemble every folded panel. You will require glue or any adhesive material to join all the sides and angles.
Read More: https://intnewsexpress.com/how-to-start-a-food-packaging-business-at-affordable-rates/
Step 6: Final Touches
Now you have a well-designed durable box packaging in front of you. You can add special touches to the box if you want to make these packaging to meet events and look more
Embellished. Adding stickers, images, special notes, and other elements give a high-end look to these custom pillow boxes. Moreover, laminate your box packaging with finishing techniques to make it protective and glossy.
Conclusion
Creating a pillow box template in just six simple steps is an effective and straightforward way to add a personal touch to your gift packaging. By following these steps, you can customize and design your own unique pillow box that perfectly suits your needs. Gather the necessary materials such as a ruler, scissors, a scoring tool, adhesive, and a printable template or cardstock. Next, print out or draw the template onto the cardstock and cut it out carefully. After cutting out the template, use a ruler and a scoring tool to create clean and precise fold lines along the designated areas. This will ensure that the box folds neatly and holds its shape.