
Spongebob Drawing step by step
As a rule, when something is well known, it will keep up with that prominence for a couple of years before individuals continue on toward the following thing. Now and again however, that prevalence never appears to blur, and that is valid for the widely adored ocean wipe: Spongebob Squarepants. This giddy wipe has been charming crowds both youthful and old starting around 1999, and he makes it clear that things are not pulling back! To figure out how to draw the adorable wipe, then this is the best aide for you.
Visit the SpongeBob Drawing ideas.
This bit by bit guide on the most proficient method to attract Spongebob 8 simple tasks will allow you to have a good time while figuring out how to draw this beautiful person!
Stage 1 – spongebob drawing
To start this aide on the most proficient method to draw Spongebob, we will begin with his eyes and his nose. How about we start with his nose. His nose is very lengthy and bends up as it comes. Whenever you’ve attracted it to seem to be the image, you can include in the eye the left. Drawing from the nose, make an honest effort to draw as ideal a circle as you can. Make certain to leave a little space on the right-hand side of the eye, as that is where the other eye will cross.
Then cautiously attract the eye on the right, however leave one more space on the lower right of the eye, then define in a bended boundary for his cheek. You can polish off this step with three lines on each eye for his eyelashes.
Stage 2 – Next, attract his mouth and cheek
It’s uncommon to track down Spongebob without a major grin all over, so we will add one in for this step of your Spongebob drawing. In the first place, draw a little, bended line down from his nose. It ought to be extremely short and afterward transform strongly directly into one more bended line that reaches out until it’s under the cheek. When you have that line drawn, attract two square shapes to frame his unmistakable teeth. Then, at that point, you can polish it off with a bended line under it from the teeth to the edge of his mouth. Remember to give him a tongue!
Ultimately for this step, attract the remainder of his cheek and add three specks to give a few spots. A bended line under his mouth will give him a jawline.
Stage 3 – Presently you can begin to attract his body
The face is finished, so for this piece of our aide on the most proficient method to draw Spongebob, we will start with his body. While he has square in his name, Spongebob is even more a 3D square shape. For the present, attract a square shape around his face as you see it in the reference picture. As may be obvious, you ought to utilize a wavy line, as the lines that make up Spongebob aren’t totally straight.
Stage 4 – Include a greater amount of his body and his tie
For this step of your Spongebob drawing, get going by giving him his shirt and tie. This will be comprised of three-sided and roundabout shapes with the secure stretching out from the reality of his body. When that’s what you have, you can attract the side piece of his body as it shows up in the picture. Make certain to leave a smooth, bended space along the edge, as his arm will go in there later.
Stage 5 – Presently, give Spongebob his shirt and jeans
Now is the ideal time to spruce up Spongebob! How about we start with the arms of his shirt. These will be made with a couple of bended lines. The arm on the right will opening into the space you left before, and the one on the left will come directly from his body. Then, you can utilize a few straight lines to frame a rectangular shape to make his jeans. These lines will be straight, not normal for the lines of his body. Include more bended lines for the legs of his jeans and you’re prepared to continue!
Stage 6 – Attract the appendages for Spongebob
Your Spongebob drawing is looking great! We should give him a few appendages in this step of our aide on the best way to draw Spongebob. His arms are extremely straight in the air, so they can be made ith two straight lines with bended lines for clench hands toward the end. The leg on the left with be straight out, and the one on the right will be bended to show him running. The reference picture will tell you the best way to utilize a few bended and straight lines to frame his shoes.
Stage 7 – Next, attract a few last subtleties
It’s nearly time for the last step of your Spongebob drawing! Before you can continue on toward the shading stage, we should include a few last subtleties. Utilize a few straight lines to partition his shirt from his jeans as you find in the image. Then, at that point, you can utilize a few thick however little dark square shapes making an example to show his belt. Ultimately, include a lines over his shoes to show his socks.
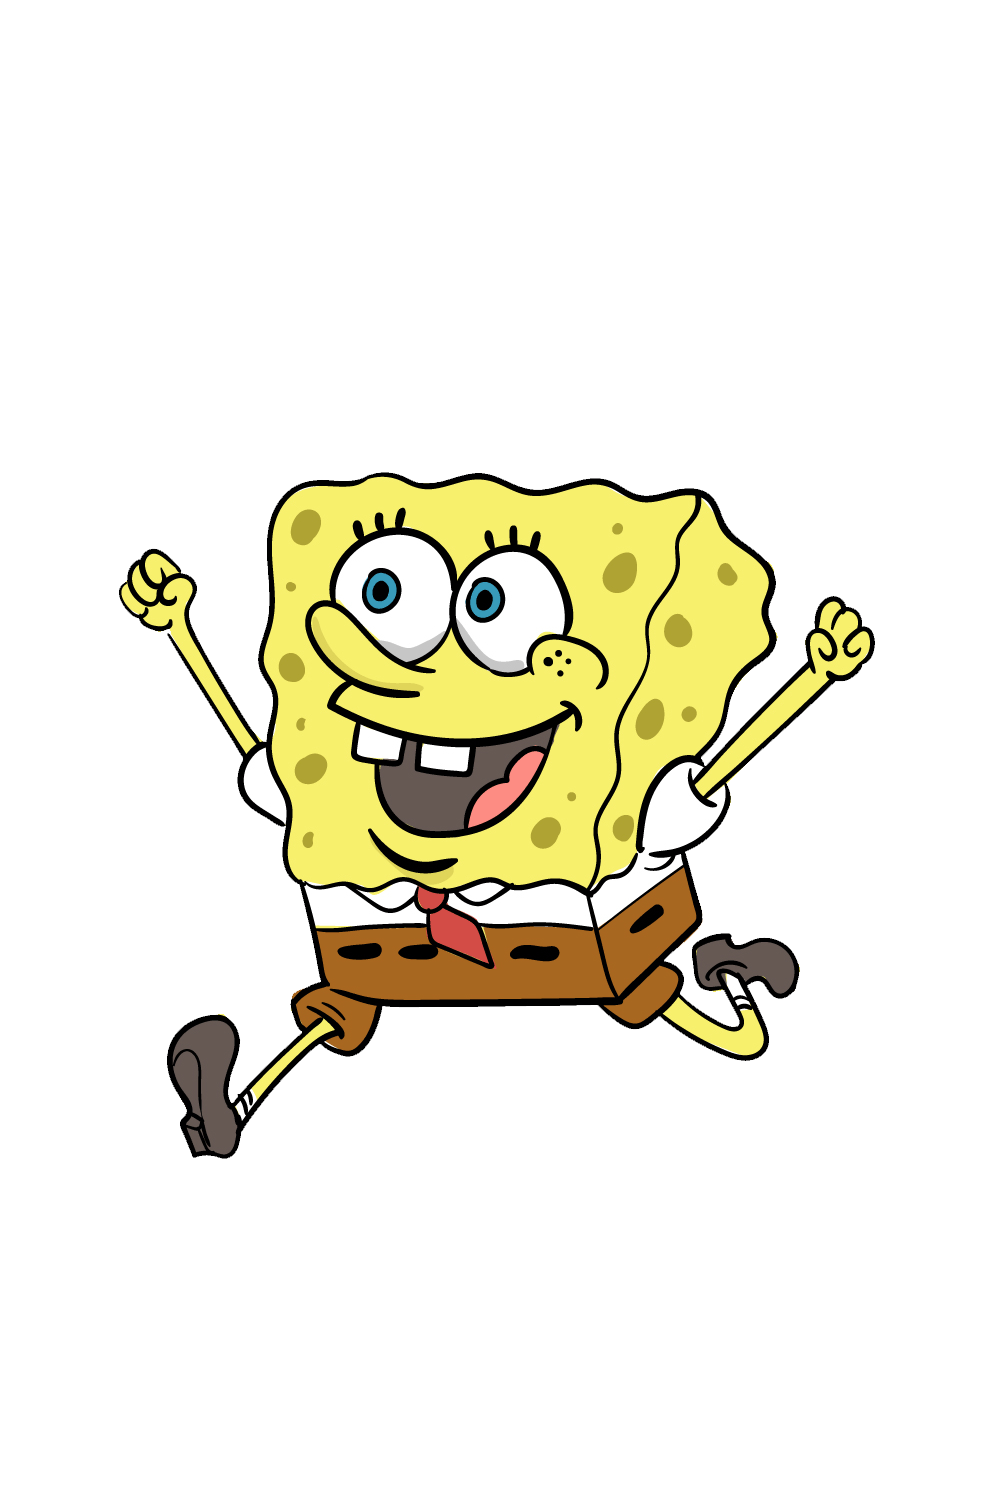
Stage 8 – Presently polish off your Spongebob drawing with some tone
You’ve effectively drawn a great Spongebob, so presently you can have a good time shading him in! Spongebob has an unmistakable yellow shading, and the picture shows how various shades of yellow for various pieces of his body will assist with giving him profundity. What fun workmanship mediums will you use for your Spongebob drawing? I would by and by utilize some acrylic paints, as they give a decent lively hope to colors that would suit Spongebob impeccably.
Also Read abcb news