
The installation and configuration of a Wavlink AC750 Wi-Fi range extender device is known as the AC750 wifi range Extender Setup. An existing wireless network can have its coverage area increased by using a Wi-Fi range extender. The extender enables Wi-Fi connections at up to 750Mbps, as indicated by the AC750 certification.
The WiFi router signal is strengthened by this WiFi extender. In your home, the Wavlink AC750 configuration eliminates all dead zones and reaches inaccessible places. It operates similarly to a wireless repeater. You may set up a Wavlink ac750 extender or a wifi.wavlink.com ac750 extender by following the instructions below.
Wavlink AC750 Wifi Range Extender Manual Setup
Instead of depending on automated or pre-configured processes, manual setup refers to the process of configuring and setting up a device or system utilizing a manual or user guide. Users often go through a series of stages and complete activities during manual setup, such as connecting cables, changing settings, entering data, and making different configuration decisions.
The Wavlink AC750 Extender Setup is quite easy. These few pointers will help you understand how to set up the extension very clearly.
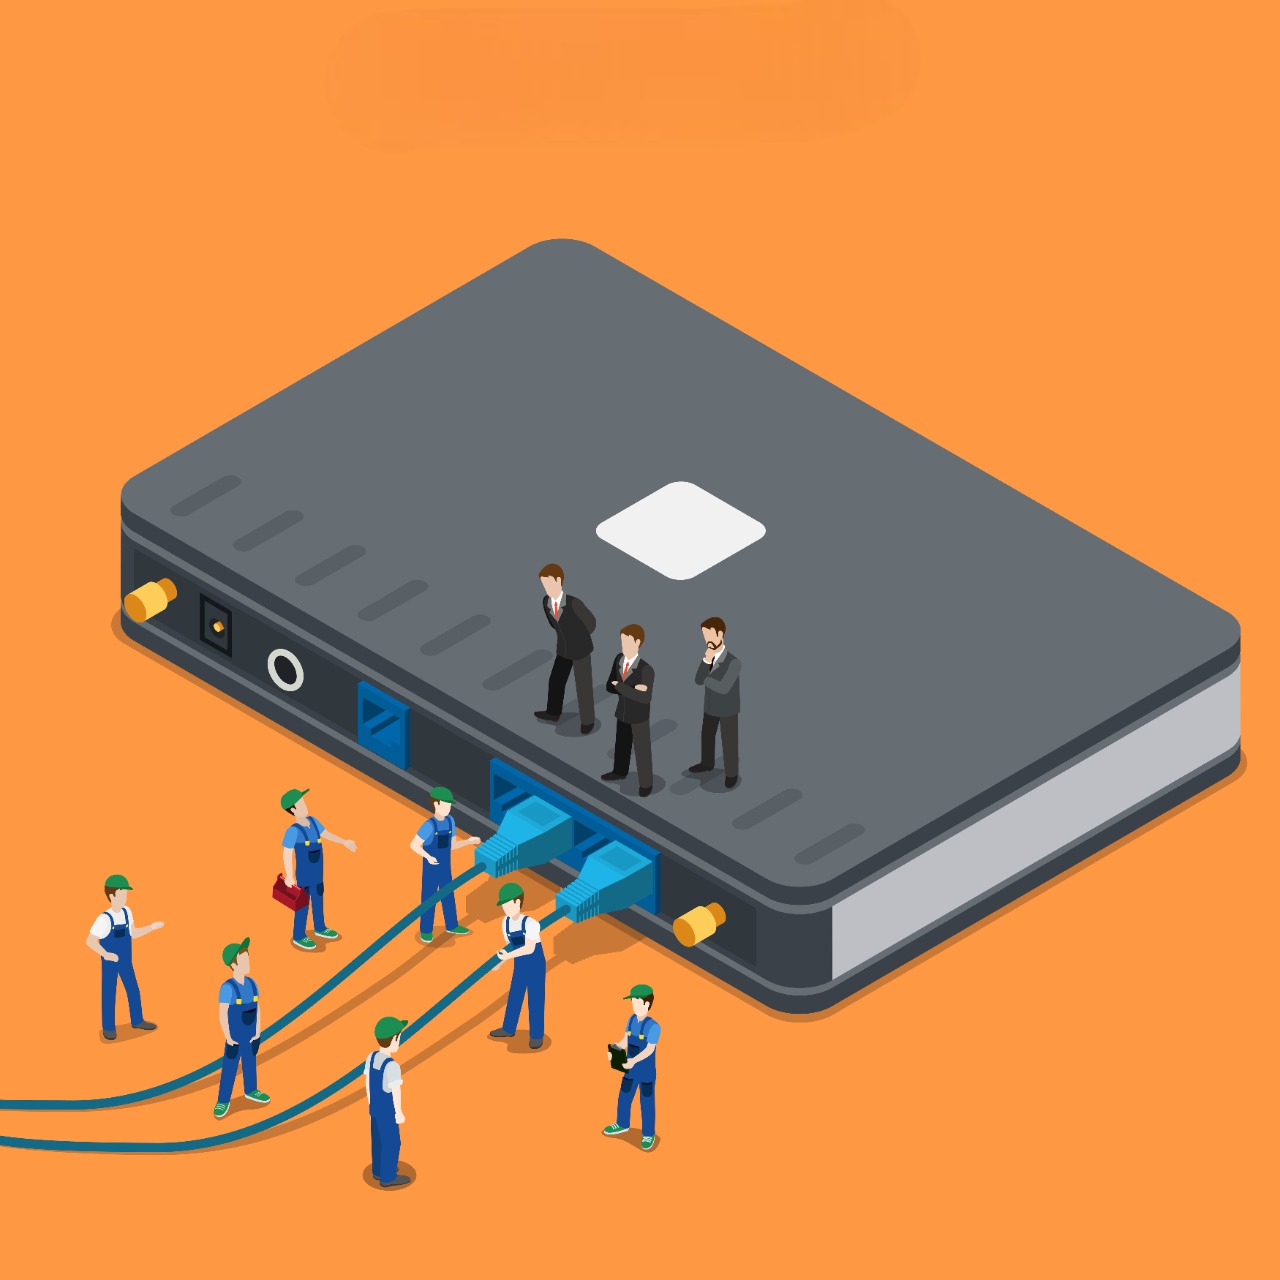
- Unpack your Wavlink AC750 WiFi repeater first.
- Insert the extender’s plug into the power outlet.
- Connect any WiFi device, such as a smartphone, computer, PC, laptop, etc., to your extender.
- After that, launch any kind of web browser and type wifi.wavlink.com or 192.168.10.1 into the address bar.
- You may easily access the Wavlink WiFi extender’s configuration page by using this IP address.
- Enter your login information, such as your AC750 password, in the field.
- Take a look at the configuration instructions for their booster with the current WiFi network. Follow each step in the prescribed order.
Setting Up Wavlink AC750 extender with the help of WPS method
A Wi-Fi network can be accessed using wireless devices using the WPS (Wi-Fi Protected Setup) setup process, which eliminates the need to manually enter the network’s SSID (network name) and password. WPS is intended to speed up and simplify setup, especially for devices without a keyboard or graphical user interface.
The Wavlink extension instantly receives the WiFi signal from the existing network when you hit the WPS button. Let’s now discuss the Wavlink AC750 configuration. The Wavlink AC750 extender may be set up in just a few simple steps.
- First, put your extension in the position nearest to the router.
- Turn on your Wavlink AC750 extension at this time.
- After that, click the WPS button on an extender or the router’s WPS button within 2 minutes.
- Wait a few minutes more to make the LED light solid green.
- Your extender is able to effectively connect to the router as a result.
Note: Feel free to contact our specialists if you need assistance with the Wavlink AC750 Extender Setup at any time. We’re here for you every day of the week.
Configure the Wavlink AC750 using the Wavlink app
Users of the Wavlink AC750 can also use the mobile app to set up their wireless WiFi network. In fact, Wavlink recommends it as a choice. Here are the steps you must take if you don’t know how to set up your Wavlink AC750 using the mobile app:
- First, download and install the Wavlink App on your smartphone if you don’t already have it.
- Connect one of your preferred devices, such as a smartphone, to the Wavlink WiFi network.
- The next thing you need to do is go to the app’s Wavlink login dashboard.
- If you already have a Wavlink account, sign in there or use the default login information.
- You might have to open a fresh Wavlink account.
- Execute the Wavlink AC750 extender setup once you have successfully logged into the Wavlink dashboard.
- To avoid making any mistakes, carefully follow the directions displayed on the screen.
This procedure is simple to follow. Users occasionally become trapped in the middle of a process, though. We advise you to use our technical support services to prevent problems of this nature. You will quickly learn how to set up the AC750 with the help of our Wavlink customer service specialists. You can get in touch with us using the information listed in the top left corner of this page.
Typical Wavlink AC750 Extender Setup Mistakes
Regardless of the Wavlink AC750 Extender setup techniques we have described above, you may have a number of configuration issues. Among the typical setup mistakes with Wavlink devices are the following:
- Weak signal strength or slow internet issue
- Invalid Wavlink Login Information
- incorrect positioning of devices
- Issues with DHCP Server
- Finding the Wavlink WiFi Network is impossible
- Wavlink App Issue: Not Working
- Issue on the backend
- Overlapping networks or signal interference
- No Internet access
- Wavlink Login Web Address Incorrect
In addition, you can encounter additional known or unknown Wavlink AC750 configuration problems. With the fixes we have outlined in the section below, you can get rid of these obstinate issues.