
The best armor for a rogue matches what the class can do and makes it do more damage in Terraria Calamity.
Terraria’s Calamity mod adds a lot of new items, bosses, and enemies, but the Rogue class is the most interesting one. Instead of spamming buttons like other classes do, the Rogue gives short bursts of better damage to players who are patient enough to wait for their most powerful attacks.
Similar to the base game’s Ranged, Magic, and Summoner classes, the Rogue’s armor sets don’t focus as much on defense as they do on making class weapons better. The Rogue stands out because its unique stealth mechanic is almost impossible to use without armor. This greatly limits the Rogue’s choices as it levels up.
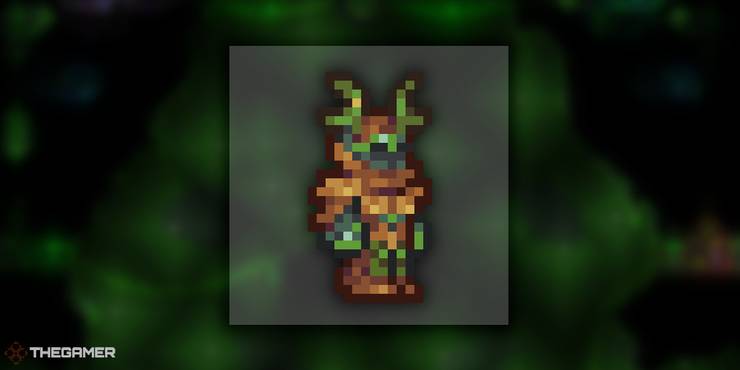
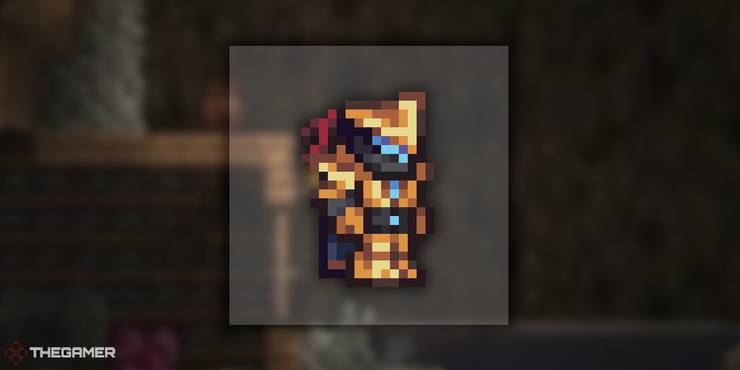
Sulphurous
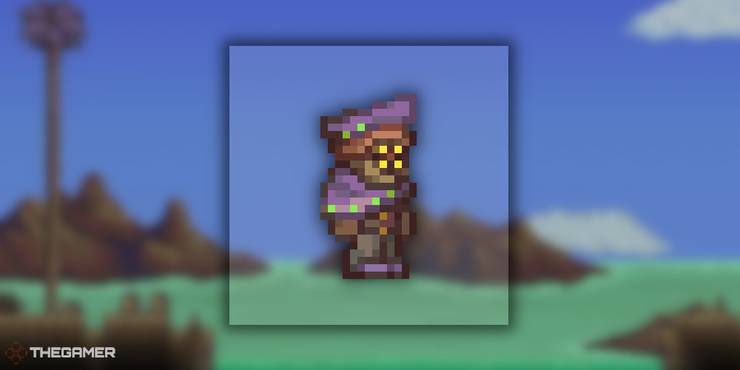
Even though the Gladiator armor could be the first thing you get as a Rogue, you’re more likely to get the Sulphurous armor because the Gladiator armor needs a rare biome. The Sulphurous armor is a much better choice, and it will probably get you through three-quarters of your Pre-Hardmode trip without you having to break a sweat.
This armor has some good stats and a good amount of stealth that you can use with the few early-game Rogue weapons you have. The Sulphurous Bubble that comes with it is a nice set bonus that makes your total DPS a bit higher. The Rogue has trouble moving around, so the armor has a built-in double jump to help you avoid high falls and fast weapons.
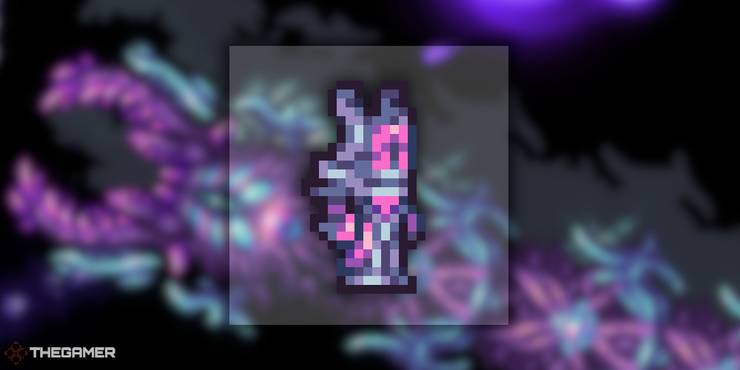
Statigel

The Wall of Flesh is the last thing standing between you and Hardmode after you kill Slime God. Its rework can tear through Sulphurous armor like paper, but Slime God drops the Purified Gel you need to make Statigel armor, which gives you a big damage and defense boost that can get you a good way into Hardmode.
The most interesting thing about this armor is that after taking 100 or more damage, it can protect you from all damage for a short time. If you want to, you can give up some of your Warding items so that you can use your protection to hit a boss without getting hurt.
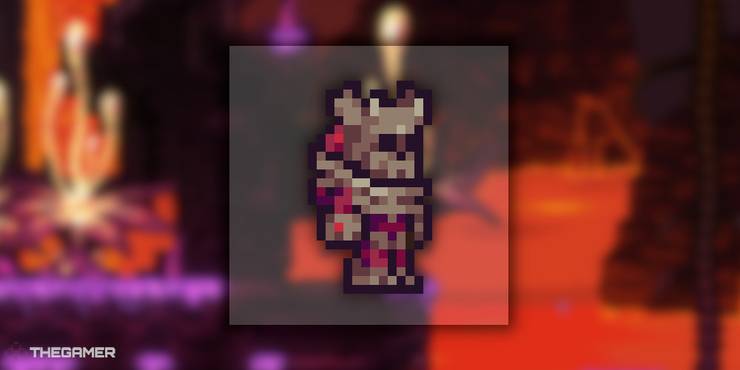
Titan Heart
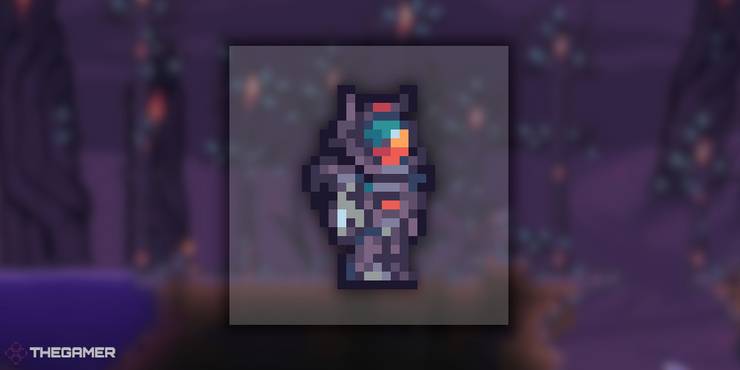
After you beat the Wall of Flesh, if you have the guts to go into the newly formed Astral Infection, you’ll get a set of armor that will probably last you through all of the Mechanical boss fights.
If you were wearing Statigel armor, the Titan Heart armor essentially doubles your defense. It also boosts your Rogue stats in a big way. In addition to your raw stats, your Rogue hits can also cause the Astral Infection debuff, which adds a lot to your damage.
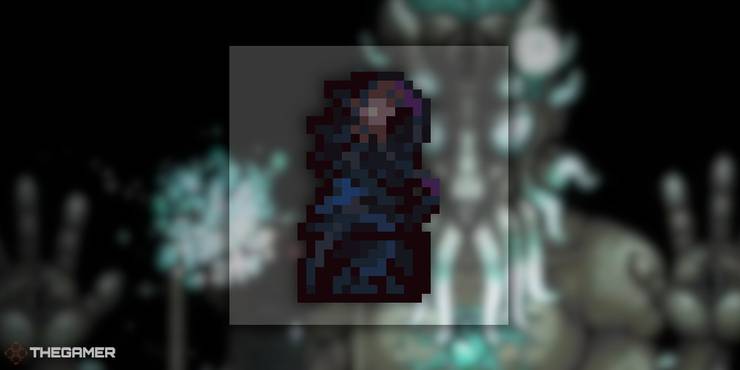
Umbraphile
After you beat Planetara, your next goal should be the Umbraphile armor, which is better in almost every way than the Titan Heart armor. It has less defense generally, but it does more damage and doesn’t suffer from the slow fire rate that its predecessor did.
Even though fire rate doesn’t matter much if you focus on hidden attacks, being able to switch between spamming and timed hits is useful when fighting bosses that are like bullet hells. This goes along with the set bonus, which makes random explosions when hit. This means that if you throw a few unbuffed Rogue weapons, you always have the chance to do more damage, even if you don’t use the set bonus.
Empyrean
After Moon Lord Calamity, the area is dangerous, so you should get the Empyrean armor as soon as you can. It has more defense than any armor before the Moon Lord and makes your total damage and chance to get a critical hit a lot better.
Use Empyrean armor if you want to do as much damage as possible to your enemies. Before Polterghast, this armor isn’t very good for defensive players, but it’s fine if you focus on moving around and keeping your distance when facing bosses with complicated attack patterns.
Tarragon
The Tarragon armor is unlocked after the Empyrean armor, and it’s meant to be an option for people who don’t like how the Empyrean armor plays. The armor is a defense against the Empyrean’s focus on damage. It has a high defense and resistance to damage, but its total attack power is lower.
After a certain number of critical hits, the set bonus even makes you invincible. This makes it easier to play in a straight-forward way that focuses less on dodging and more on throwing a lot of projectiles. This is especially helpful if you have trouble getting through the fields of bullets that later bosses tend to throw at you.
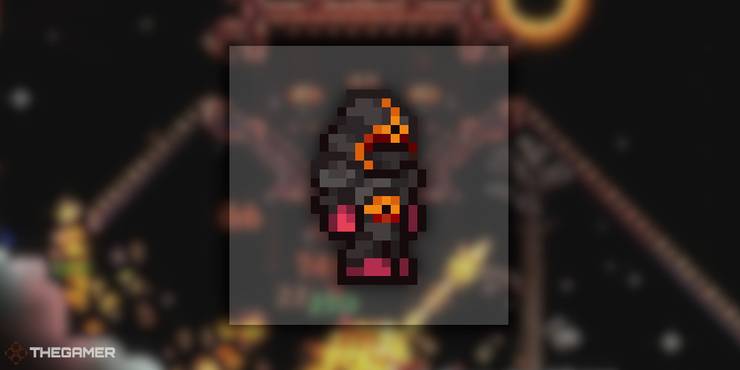
Bloodflare
The Bloodflare set is your prize for beating Polterghast with any style of play. It has the offensive power of the Empyrean armor and the defense of the Tarragon set, which is better. The Bloodflare set is also a health-gathering machine. It increases passive healing and drops hearts when you hit an enemy with less than 50% health.
Even though the Bloodflare set doesn’t have a time of invulnerability like the Tarragon set, it does give stat bonuses when your health is above 80% and gives you a chance to heal after a critical hit. This lets you change your style of play so you can use both offensive and defensive moves.
God Slayer
When a Rogue is at full health, the God Slayer set of armor gives them a 10% boost to their stats if they move well. This comes with an invincible dash that can be used in any direction and does 3,000 damage. This lets you get out of tough situations without losing your perks.
Also, if you take more than 80 points of damage, you get an effect similar to Statigel armor that makes you immune to damage. This gives you time to get away from bad groups of hurtboxes so you can heal up and use the armor’s damage boosts to their fullest.
Auric Tesla
Due to its crazy stats and effects taken from other sets, the Auric Tesla armor could be the last Rogue set you ever need. In addition to the gains it takes from other armor, it also gives you an incredible 100 more health, giving you a much larger margin of error in the late Flappy Bird game.
This set of armor has the same benefits as the Bloodflare, Tarragon, and God Slayer armors. This includes their health regeneration, damage resistance, dashes, and changes to damage based on health. All of this makes it the best way to avoid, reduce, and deal with high-damage bullet hells as a whole.
Demonshade
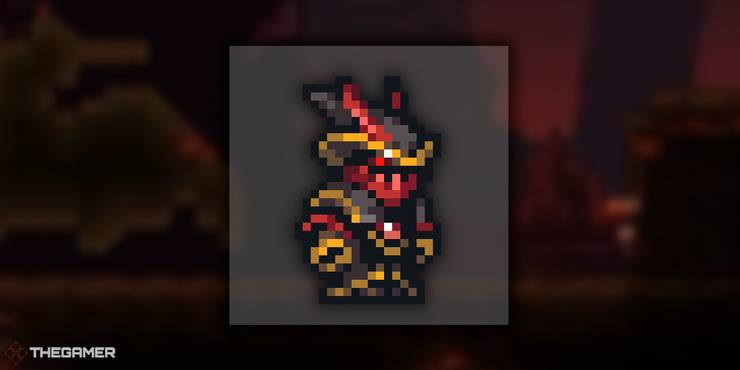
Nearly every other multiclass armor set the Rogue can wear makes the class’s general damage output worse, and the Rogue must use melee, ranged, and magic weapons to make up for the damage reduction that minions cause for Rogue weapons. The only set of this type of armor that is worth using is the Demonshade armor, which lets you keep using your throwable weapons because of how powerful it is.
With ten minions, a Red Devil, and a debuff that makes enemies take more damage, it’s possible for the first time in the game for a Rogue to spam weapons. But if you choose this gear, that’s all you can do, since it doesn’t help you be quiet.